
Hi Stampers. Did you see the lighted shadow box I shared with you on Friday? This set of Christmas banners would look great with that. A customer had see the bottom banner in the Stampin’ Up! 2018 Holiday Catalog and wanted me to make her one.

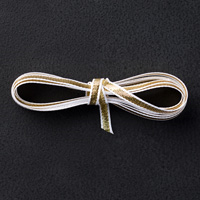
The Banner Punch Board from We R Memory Keepers was a great help in creating the pennants for these banners. I alternated Real Red and Garden Green CS to make each banner. While they could have been cut with the paper trimmer, the punch board made it faster and more precise. In the top right and left corner of each pennant I used the 1/8″ hole punch to punch holes to feed the 1/8″ ribbon through.

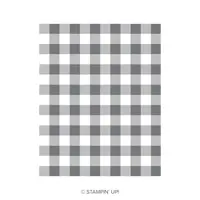
Using the photo in the Stampin’ Up! 2018 Holiday Catalog to create the deer banner. There are 12 pennants – 6 in Real Red CS and 6 in Garden Green CS. Each panel measures 3 1/2″ x 5 1/2″. I started with stamping the Buffalo Check stamp in Memento Black ink onto each Real Red pennant using the Stamparatus to stamp each one twice. This helped create the dark black squares I was looking for. Onto each banner, I glued 1/2 of a detailed doily at the top using multipurpose liquid glue applied with a stamping sponge.
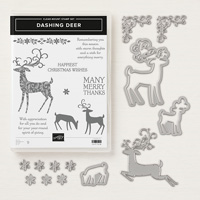
I stamped the deer onto Whisper White CS using Crumb Cake and/or Garden Green classic stamp pad on the body of the deer and applying ink to the antlers of the stamp using a Soft Suede marker. The coordinating Detailed Deer Framelit dies and the big shot cut each one out perfectly. (The magnetic platform helped hold it in place while running it through the big shot making a perfect cut.) For each Crumb Cake colored deer, I cut out a bow from Real Red CS. The bows were attached to the deer and the deer to the pennants using multipurpose liquid glue.

For the Merry Christmas Banner there are 15 pennants – 7 in Real Red CS and 8 in Garden Green CS. Each panel measures 2″ x 3 3/4″. To decorate the Merry Christmas banner I started by cutting 1 3/4″ scalloped circles out of vellum CS using the Layering Circles Framelit dies and my big shot. I cut the Merry Christmas letters out of Real Red and Garden Green CS using the Large Letters Framelit dies and my big shot. Each letter was attached to a vellum circle using glue dots. Additional glue dots were added to the back of the vellum circles using the letters to mask the glue dots so they won’t be seen from the front. A deer cut out of Gold Foil CS using the Detailed Deer Thinlit dies made this banner coordinate well with the deer banner above.
The two banners make a great set and would look great as holiday decorations in your home. The would also coordinate well with the Dashing Deer Frame I created for another post – see that post HERE.
These are the supplies I used:
click on the picture to be taken to my store to purchase.


What size are the initial banner pieces? Love this idea.
You make an excellent point – I did forget to go back in and add the measurements and forgot before it posted. I have now gone back in and edited the post to include the measurements. Thank you for asking about that. The deer banner has pennants that are 3 1/2″ x 5 1/2″ and the Merry Christmas banner pennants are each 2″ x 3 3/4″.
What a fun and festive banner! I’m definitely adding this to my “to-make” list. Thanks for sharing!
Oh good. I hope you make one. 🙂