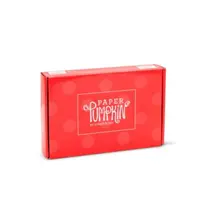
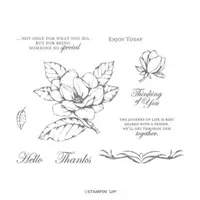
Hi Stampers. I have to confess. I have not been a fan of Paper Pumpkin in the past, but they have been making great strides in improvement to these kits. There is also a lot more “alternative” ideas for using these kits out there in case you don’t like it exactly as designed. This is one of those alternative ideas. The Sentimental Rose kit that was released in April 2019 had a great distINKtive rose stamp in it. I used that rose and it’s leaves to create these cards.
The Paper Pumpkin kit is a monthly subscription for a paper crafting kit. Each month you get an all inclusive kit – ie: an exclusive set of stamps, papers, dimensionals, glue dots, die cuts and an ink spot. You can purchase this a month to month subscription or you can purchase a prepaid subscription (for yourself or a friend)- hint – the prepaid option is a great way to earn those Bonus Days $5 coupons.
What is a distINKtive stamp? It is a new style of stamp that Stampin’ Up! have developed called a Distinktive stamp. This type of stamp lays down the ink at different opacities giving the finished image more depth – just ink the surface lightly for a perfect photographic finish.
Step-by-Step Tutorial:

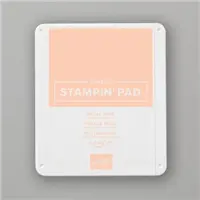
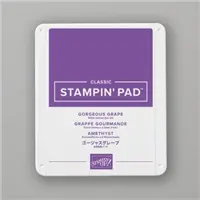
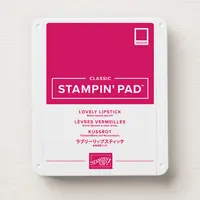
1. Start with a card base 8-1/2″ x 5-1/2″, scored at 4-1/4″. (I used Lovely Lipstick, Petal Pink and Gorgeous Grape cardstock.
2. Folded and burnished at the score line.

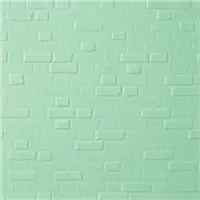
3. Dry emboss a 4″ x 5-1/4″ layer of Very Vanilla CS using the Brick & Mortar 3D Embossing Folder.
4. Adhere this to the card front using snail adhesive.

5. Cut a piece of Mossy Meadow CS – 1-1/2″ x 5-1/4″.

6. Cut a piece of Very Vanilla CS – 1-1/4″ x 5-1/4″.
7. Use Mossy Meadow ink and a sentiment to stamp onto the right side of the Very Vanilla CS strip. (I used the “thanks” sentiment from the Good Morning Magnolia stamp set).
8. Adhere the Very Vanilla strip to the Mossy Meadow strip and then the two to the card front using snail adhesive.
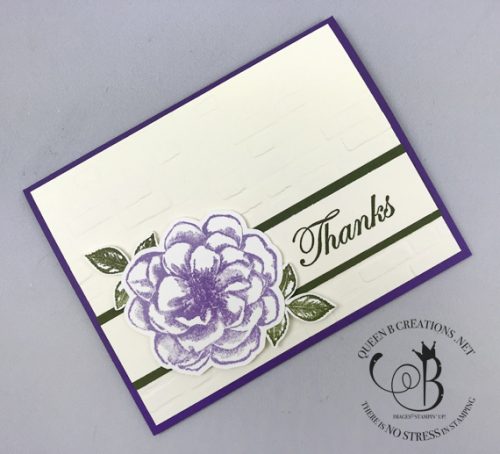
9. Stamp the flower (in the color of your choice) onto a scrap of Very Vanilla CS (approx. 3″ x 3″).
10. Stamp the leaves in Mossy Meadow ink onto scraps of Very Vanilla CS.
11. Cut out the rose and leaves, either with paper snips or a Brother Scan-n-cut machine. See more info about the Brother Scan-n-cut at my affiliate link HERE. (An affiliate link means – while keeping the cost the same for you – I earn a small referral fee that helps to support this blog).
12. Adhere these to the left side of the card front using stampin’ dimensionals.
Stampin’ Tip: The key to getting a good image with the distINKtive stamps is to have an ink pad that is not too dry, but also not too juicy. Before I inked the stamp, I rubbed the ink pad with the back of a spoon – pushing the ink down into the pad.

13. Cut a 4″ x 5-1/4″ piece of Very Vanilla CS for the interior of the card.
14. Use the flower stamp to stamp the flower in the lower right corner.
15. Adhere this layer to the interior of the card using snail adhesive.

Here is a close up of the flower from the April 2019 Sentimental Rose Paper Pumpkin kit.

Product Spotlight – Stamp Cleaning Pad
After I was done stamping, I cleaned my photopolymer stamps using the Simply Shammy and then the Stamp Cleaning Pad. The new Stamp Cleaning Pad is great for removing any leftover inks from the stamp – preventing staining.

This is the stamp after using it with the Petal Pink, Gorgeous Grape and Lovely Lipstick inks. As you can see, it does a great job of cleaning the photopolymer stamps!
If you live in the United States and would like to shop with me you can follow any of the photo links below to get to my online store. When you place your order, don’t forget to use this months Mystery Hostess code – from the bar on the right – for your chance to be this months hostess and earn FREE hostess rewards!
If you need help with how to use the host code you can find the answer here. If you would like to join me for some classes, clubs or events make sure to visit the events page or sign up for my newsletter so you will never miss out again.
Thank you for visiting please take the time CLICK HERE to say hello and leave a comment.
These are the supplies I used:
click on the picture to be taken to my store to purchase
If you enjoyed this post, please be sure to . . .
- Join me on Monday’s at 2:30 PM (MT) on my Facebook page for Facebook LIVE.
- Receive a FREE PDF tutorial when you subscribe to my monthly newsletter (exclusive offers) & daily blog updates here.
- Earn up to a $45 shopping spree with my Royalty Rewards Program.
- Check out the clearance rack and save up to 70%.
- Save 10% on coordinating product bundles!
- The $99 Starter Kit is the best deal of ALL! Discounts & benefits here.
- Visit my gallery for paper crafting ideas.
- Place an order and join my Queen B Creations VIP club for many more FREE PDF Project and Tips.
- Join my Online Classes to create some fabulous projects using Stampin’ Up! products with great layouts, fun folds & techniques you won’t want to miss
- Follow me on Pinterest.
- Subscribe to my YouTube paper crafting video tutorials.

