
Hi Stampers. Welcome to the Pals’ July Blog Hop! We’re so glad you’re here because we made some great projects that are “Mixing It Up” – adding texture that will really take your projects up a notch – or two! You may be starting the hop here or coming from a previous Pal’s blog. Either way, you’ve come to the right place. You’ll find the full line-up below to help you move, or “hop” along from Pal to Pal.

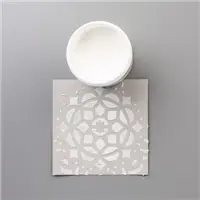
For my card, I decided to show you how to use the ombre’ technique using embossing paste. How to use embossing paste may seem a little intimidating, but it’s really not. A little messy – yes – but, not hard. I used the Shimmery White Embossing paste and the highland heather and gorgeous grape ink refills to create the ombre’ effect.
 Instructions:
The card starts with a Bermuda Bay card base – 8-1/2″ x 5-1/2″, scored at 4-1/4″. Next up is a 4″ x 5-1/4″ layer of Coastal Cabana CS. I applied the embossing paste to a 3-7/8″ x 5-1/8″ piece of Whisper White CS with the diamond mask from the Pattern Party Decorative Masks.
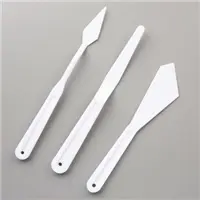
Stampin’ Tip: To create the ombre’ effect with the embossing paste. Starting with about a tablespoon of Shimmery White Embossing Paste on a piece of plastic, I added one drop of Highland Heather ink refill and stirred with the palette knife. I then applied some to the upper left corner. Next, I added one more drop of the Highland Heather ink refill, stirred and applied more of the paste a little further down. Finally, I added one drop of the Gorgeous Grape ink refill, stirred and applied it to the bottom of the mask. Voila! You have the ombre’ effect.

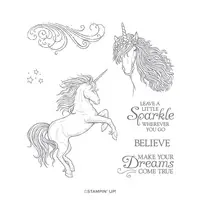
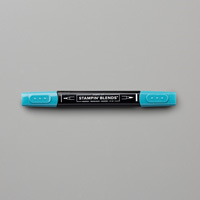
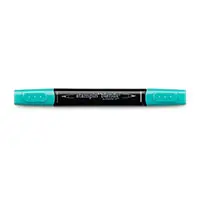
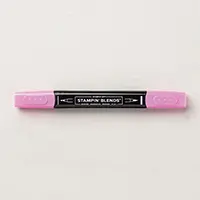
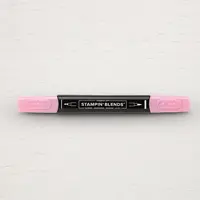
After adhering the Coastal Cabana CS to the card front, then the embossing paste layer to that using snail adhesive – it was time to add the unicorn. Using the unicorn from the Leave a Little Sparkle stamp set, I stamped in Tuxedo black ink onto a piece of Whisper White CS. I colored the unicorn using the Stampin’ Blends markers. (LOVE those Stampin’ Blends!!)

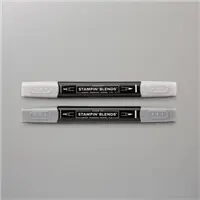
The unicorn did not have a die, but I wanted the unicorn cut out. Enter my Brother Scan N Cut CM350 – I love this thing! I was able to load it into the machine, push a few buttons and poof – my unicorn was ready to go! Using the Dark Smoky Slate blends I colored in the .004 border that I had told the machine to cut around my unicorn. This gave it a little extra pop when I attached it to my card using Stampin’ Dimensionals.

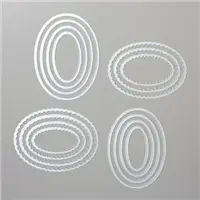
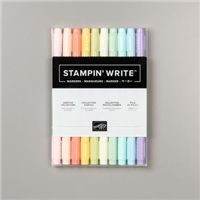
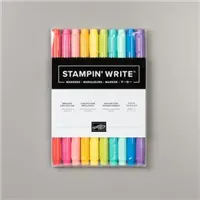
In the lower right corner I put the sentiment. I inked my stamp “believe” using the Stampin’ Write markers – Highland Heather and Gorgeous Grape. The brush tip of both markers were applied to different areas of the stamp and then stamped onto the scrap of Whisper White CS. Using the Layering Ovals Dies, I die cut the sentiment and then a scalloped oval from Bermuda Bay CS. The two ovals are adhered together using multipurpose liquid glue and then to the card front using stampin’ dimensionals.
 Decorating the interior of the card:
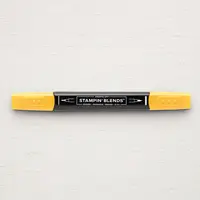
Inside the card is a 4″ x 5-1/4″ layer of Coastal Cabana CS followed by a 3-3/4″ x 5″ layer of Whisper White CS that I stamped onto. Using more stamps from the Leave a Little Sparkle stamp set and my Stampin’ Write markers again, I stamped the sentiment and the swirls and stars. The stars are colored in using the dark Purple Posey stampin’ blend. I finished off the card by adding wink of stella to the word sparkle, the stars, swirls and the unicorn mane and tail.
Stampin’ Tip: By using the brush tip of the Highland Heather and Gorgeous Grape stampin’ write markers, I was able to ink the stamp with multiple colors and create an ombre’ effect with the stamps. This matched the ombre’ embossing paste on the card.
More inspiration awaits! Use the Blog Hop Line-up below to visit the rest of this month’s Design Team. My fellow Pals are excited to show you what they’ve created! Don’t forget to show us some love by commenting on our creations. Mark your calendars for Wednesday, August 14, 2019 when our Hoppin’ Pals share their “Special Occasions” projects. Don’t miss the fun!
Pals Blog Hop Line-Up:
- Mary Fish at Stampin’ Pretty
- Lynn Kolcun at Avery’s Owlery
- Mary Hanson at Up North Stampin’
- Jill Killeen at Killeen House Studio
- Tricia Chuba at ButterDish Designs
- Su Mohr at Aromas And Art
- Beth McCullough at Stamping Mom
- Rae Harper Burnet at Wild West Paper Arts
- Katy McGloin at Just Fun Stamping
- Peggy Noe at Pretty Paper Cards
- Stesha Bloodhart at Stampin’ Hoot!
- Rosanne Mulhern at Heartfelt Stamping
- Denise Hoepfner at The Mountain Magpie
- Jackie Beers at Blue Line Stamping
- Wendy Klein at Doggone Delightful Stampin
- Lisa Ann Bernard at Queen B Creations <—– you are here
- Karen Hallam at Karen’s Stamping Habit
- Jennifer Michalski at Stamping Serenity
- Terri George at Stamp Me Crafty
- Pamela Sadler at Stampin Pink Rose
- Leah O’Brien at Stamping By The Bay
- Debbie Mageed at Secrets to Stamping
Don’t forget – It’s BONUS DAYS!

If you live in the United States and would like to shop with me you can follow any of the photo links below to get to my online store.
Thank you for visiting please take the time to say hello and leave a comment.
These are the supplies I used:
click on the picture to be taken to my store to purchase





A WOW! Card. And your unicorn is wonderful!
Thank you for your nice comment!
Lisa, this is an awesome card! Thanks for the tip on how to ombre the texture, so cool!
Thank you, I was tickled at how great the ombre came out.
LOVE the ombre effect with embossing paste!!! All of the elements for this card work so beautifully together! Well done, Pal!
Thank you for your sweet comments.
Wonderful card! The unicorn is a show stopper and the ombre background is the perfect way to showcase him. Great job!
Thanks, Debbie. I love how this came out!
Wow, LOVE the ombre texturing — I never thought to do that! The unicorn is superb!
Thank you for being so kind.