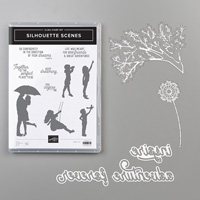
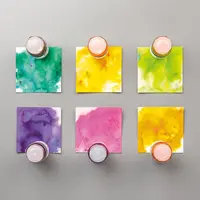
Hi Stampers. Last year, Stampin’ Up! sold a product called Brusho that was pigment sprinkles. This year, they made their own in Stampin’ Up! colors! I think these are much more vibrant and wanted to show them off. The Silhouettes from the Silhouette Scenes bundle seemed like just the right bundle to let the Pigment Sprinkles shine!

This card starts off with a Basic Black card base, 8-1/2″ x 5-1/2″, scored at 4-1/4″. Using the Sweet Silhouette Scenes Dies, I die cut the tree in Basic Black cardstock and set it aside.

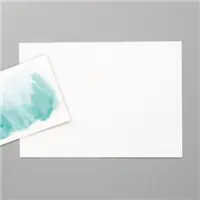
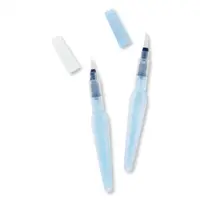
I then started using the pigment sprinkles on a 5-1/4″ x 4″ piece of watercolor paper. First, I sprinkled some Granny Apple Green sprinkles on the bottom and added some water and spread it around using the Aqua Painter.

For the sun, I sprinkled just a tiny bit of the Mango Melody Sprinkles and then activated it with my Aqua Painter. Finally, I added Daffodil Delight sprinkles to the rest of the layer and blended with the Aqua Painter.

After letting the layer dry fully, I stamped the girl on the swing (from the Silhouette Scenes Stamp Set) in Memento Black ink using my Stamparatus. I gently placed the die in the Stamparatus over the layer, so I could determine where to stamp the swing and then took it away before stamping.
Stampin’ Tip: Using the Stamparatus allowed me to ink up and stamp the girl on the swing multiple times in exactly the same spot, ensuring that the image was good and dark.
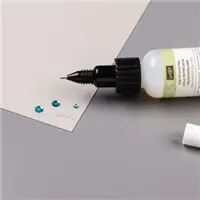
The tree was then glued to the layer using the fine-tip glue pen. I trimmed a little of the tree off the edges and then adhered the layer to my card base using snail adhesive.

Inside the card I used a 5-1/4″ x 4″ layer of Very Vanilla CS and stamped the sentiment (also, from the Silhouette Scenes stamp set) in Memento Black ink. I, again, used the Stamparatus and stamped the child with the plane in Memento Black ink multiple times. This layer was then attached to the inside using snail adhesive.
Video Tutorial:
If you live in the United States and would like to shop with me you can follow any of the photo links below to get to my online store. When you place your order, don’t forget to use this months Mystery Hostess code – from the bar on the right – for your chance to be this months hostess and earn FREE hostess rewards!
If you need help with how to use the host code you can find the answer here. If you would like to join me for some classes, clubs or events make sure to visit the events page or sign up for my newsletter so you will never miss out again.
Thank you for visiting please take the time to say hello and leave a comment.
These are the supplies I used:
click on the picture to be taken to my store to purchase
If you enjoyed this post, please be sure to . . .
- Join me on Monday’s at 2:30 PM (MT) on my Facebook page for Facebook LIVE.
- Receive a FREE PDF tutorial when you subscribe to my monthly newsletter (exclusive offers) & daily blog updates here.
- Earn up to a $45 shopping spree with my Royalty Rewards Program.
- Check out the clearance rack and save up to 70%.
- Save 10% on coordinating product bundles!
- The $99 Starter Kit is the best deal of ALL! Discounts & benefits here.
- Visit my gallery for paper crafting ideas.
- Place an order and join my Queen B Creations VIP club for many more FREE PDF Project and Tips.
- Join my Online Classes to create some fabulous projects using Stampin’ Up! products with great layouts, fun folds & techniques you won’t want to miss
- Follow me on Pinterest.
- Subscribe to my YouTube paper crafting video tutorials.

