
Hi Stampers.
Welcome to the Pals’ August Blog Hop! We’re so glad you’re here because we made some great projects for “Special Occasions” – cards or projects that adds beauty to the special occasions we all love to make cards for! You may be starting the hop here or coming from a previous Pal’s blog. Either way, you’ve come to the right place. You’ll find the full line-up below to help you move, or “hop” along from Pal to Pal.

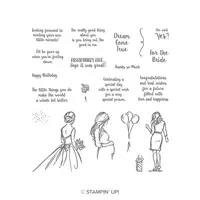
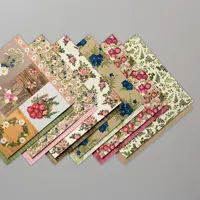
I chose to make a wedding card using the Wonderful Moments stamp set and the Pressed Petals Specialty Designer Series Paper. The daughter of a friend is getting married next year and her colors are dark red and gray, so I used Merry Merlot and Basic Gray cardstock. She’s young, she must know what’s on trend – right?!?

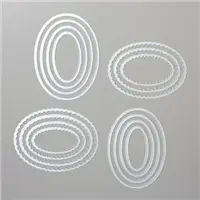
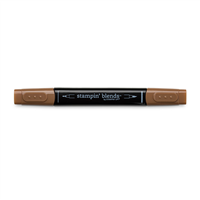
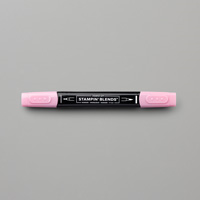
I chose to make it a pocket card where the two sides are triangles that folded in and I layered ovals over the center. I stamped the bride in Smokey Slate ink and colored using Stampin’ Blends.
Stampin’ Tip: I actually stamped on scrap paper first and then onto the Whisper White CS without re-inking. This is referred to as second generation stamping. It made a lighter image outline, so my coloring stood out more than the lines.

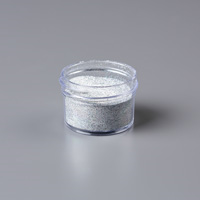
The dress is accented using the Shimmery Whisper White Embossing Powder. I just love how it makes her dress sparkle!!
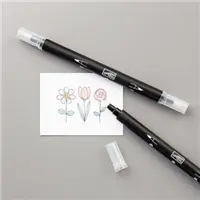
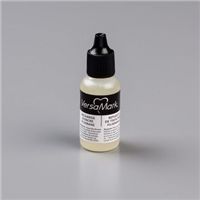
Stampin’ Tip: I filled a dried out blender pen with Versamark refill ink. This allowed me to draw where I wanted the embossing powder to go (between the outlines, but not over them). Then I sprinkled the embossing powder and heated with the heat tool to melt it.

The inside pull out section is a (4-1/8″ x 5-3/8″) layer of Basic Gray CS covered with a (4″ x 5-1/4″) layer of Whisper White CS and a 1/2″ x 4″ strip of the DSP at the top. I also added the same DSP to the flap of my envelope. I love it when everything matches!

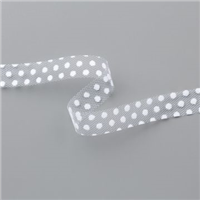
I stamped the sentiment in Merry Merlot ink into the center of the Whisper White layer. Next, I punched a 1/8″ hole in the center of the top and added Whisper White Polka Dot Tulle Ribbon.

Here is a diagram of how I cut my 8-1/2″ x 11″ piece of Merry Merlot CS for my base. For the DSP, I used two pieces of 3-1/4″ x 5-3/8″ and cut from the left side of the short side to the middle of the long side. I attached these layers to my card using snail adhesive.
More inspiration awaits! Use the Blog Hop Line-up below to visit the rest of this month’s Design Team. My fellow Pals are excited to show you what they’ve created! Don’t forget to show us some love by commenting on our creations. Mark your calendars for Wednesday, September 11, 2019 when our Hoppin’ Pals share their “It’s the Sentiment that Counts” projects. Don’t miss the fun!
Thank you for visiting please take the time to say hello and leave a comment.
Pals Blog Hop Line-Up
- Mary Fish at Stampin’ Pretty
- Jeanie Stark at Just Stampin’
- Terri George at Stamp Me Crafty
- Lisa Ann Bernard at Queen B Creations
- Stesha Bloodhart at Stampin’ Hoot!
- Debbie Mageed at Secrets to Stamping
- Leah O’Brien at Stamping By The Bay
- Karen Hallam at Karen’s Stamping Habit
- Jennifer Michalski at Stamping Serenity
- Rosanne Mulhern at Heartfelt Stamping
- Peggy Noe at Pretty Paper Cards
- Denise Hoepfner at The Mountain Magpie
- Wendy Klein at Doggone Delightful Stampin
- Pamela Sadler at Stampin Pink Rose
- Tricia Chuba at ButterDish Designs
- Su Mohr at Aromas And Art
- Mary Hanson at Up North Stampin’
- Katy McGloin at Just Fun Stamping
- Jill Killeen at Killeen House Studio
- Beth McCullough at Stamping Mom
- Lynn Kolcun at Avery’s Owlery
- Katie Ferguson at Cottage Paper
- Rae Harper Burnet at Wild West Paper Arts
These are the supplies I used:
click on the picture to be taken to my store to purchase




Love the unique fold idea. Very pretty card.
Very pretty card, Lisa. Creating a pocket card makes it that much more special.
Love, love, love your use of the embossing powder! Visit my blog – Killeen House Studio
Very elegant. I love the tip for using the blender pen for putting Versamark right where you want it.
Love this card and the tips! Thank you!
Beautiful card. I love the unique fold.
Beautiful card and love your technique!
Gorgeous card! Very elegant!
Your card is beautiful. I love pocket cards and this would also work great for “Save the Date” cards.
What a wonderful pocket design, Lisa Ann! The bride will love it!
Absolutely stunning! Love the pocket design and details on her dress.
Such a beautiful card! Thank you for sharing the photo & instructions!
Beautiful! Love this fun fold for a wedding card. Great card!!
Lisa, this card is truly a work of art. I love how you second generation stamped the image and then the tips about embossing 🙂 Thanks for sharing.
Beautiful card, Lisa… love all the extra special details! Thanks for sharing the tips as well!!
What a gorgeous card Lisa! I really like the professional diagram for directions too!
A beautiful card, and I love the pull-out message! Very special indeed!
Beautiful Lisa. The perfect fold for this image.
Beautiful, Lisa! She actually looks like my friend’s daughter who just got married! 🙂
Lisa, I love this beautiful card! I’ve never seen this technique and now I can’t wait to try that. Thank you so much for the tutorial!