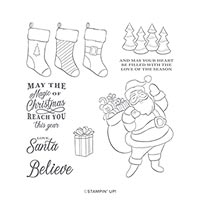
Hi Stampers. I have such a cute project for you today! Did you know that you can stamp on wood? You can! Check out this super cute Christmas Ornament I made by using the Holly Jolly Christmas stamp set to stamp on this wood round / wood slice. You can get the wood slices on Amazon by clicking HERE.

The Santa from Holly Jolly Christmas was stamped onto this wood round using Memento Black ink and colored with Stampin’ Blends.

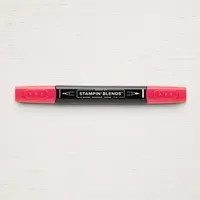
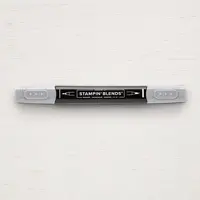
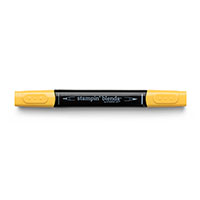
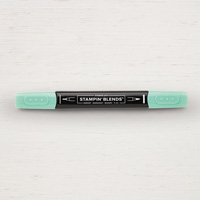
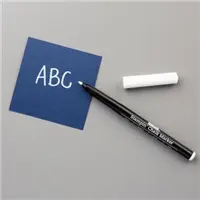
Make note of the colors used in the supply list below. The Stampin’ Blends appear darker on wood than they do on paper, so I used almost all “light” versions of the markers. The white is colored in using the White Stampin’ Chalk Marker. (Careful, the wood can be harsh on the tip of your marker).

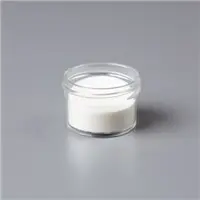
After doing the stamping and coloring, I covered the slice with clear versamark ink and sprinkled with clear stampin’ emboss powder and melted with the heat tool.

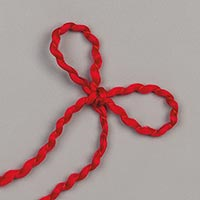
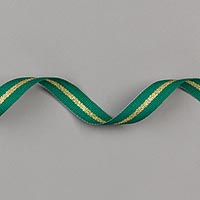
To finish it off, I threaded the Real Red Curly ribbon through the hole and tied it twice. Once near the top of wood round and once at the top making the loop to hang it on the tree. I then used the Shaded Spruce and Gold ribbon to make a bow at the top of the wood round. Didn’t it come out cute!?!? I can’t wait to see if they sell well at my next craft fair. You should give it a try! I’d love to see what you create!
Here is a video of a Facebook Live I did showing how to make this cute creation:
If you live in the United States and would like to shop with me you can follow any of the photo links below to get to my online store. When you place your order, don’t forget to use this months Mystery Hostess code – from the bar on the right – to earn this months Customer Appreciation PDF Tutorial (with a qualifying order)!
If you need help with how to use the host code you can find the answer here. If you would like to join me for some classes, clubs or events make sure to visit the events page or sign up for my newsletter so you will never miss out again.
Thank you for visiting please take the time to say hello and leave a comment.
These are the supplies I used:
click on the picture to be taken to my store to purchase

This month’s PDF is all about the Ride with Me Bundle. This PDF includes all the instructions to create six adorable cards – I’ve even included a few simple fancy folds!.
All orders of $30 and above (before tax and shipping) placed in my online store using the Hostess Code RDSKZUR3, will be emailed the Customer Appreciation PDF tutorial within 48 hours.
PLEASE NOTE, if your order is over $150 before tax and shipping DO NOT enter the Hostess Code and you will receive all the Stampin’ rewards you earned on your order AND the Customer Appreciation PDF tutorial.
If you enjoyed this post, please be sure to . . .
- Join me on Monday’s at 2:30 PM (MT) on my Facebook page for Facebook LIVE.
- Receive a FREE PDF tutorial when you subscribe to my monthly newsletter (exclusive offers) & daily blog updates here.
- Earn up to a $45 shopping spree with my Royalty Rewards Program.
- Check out the clearance rack and save up to 70%.
- Save 10% on coordinating product bundles!
- The $99 Starter Kit is the best deal of ALL! Discounts & benefits here.
- Visit my gallery for paper crafting ideas.
- Place a $30 (or more) order and receive my FREE Customer Appreciation PDF Tutorial.
- Join my Online Classes to create some fabulous projects using Stampin’ Up! products with great layouts, fun folds & techniques you won’t want to miss
- Follow me on Pinterest.
- Subscribe to my YouTube paper crafting video tutorials.






This is REALLY cute!! If I was ever at the same craft fair as you, I would SURELY buy one of these!!!
This is absolutely adorable and so unique! Thanks for sharing!
These are adorable! I just wondered if the wood had any kind of finish before you started…any problem with inks running on the wood?
No. No finish before starting. I did not have issues with running. The blend colors were darker on the wood than on paper.
Did you color the fur on his jacket and his beard?
Really cute!
Yes. With the white chalk marker.