Hi Stampers. Two weeks ago I shared a FALL themed sampler that I made. (See that post HERE) While I was in the mood to do samplers, I did several. Today I am showing you the two Chritmas themed ones I made. All the measurements are the same, I just used different papers, ink colors and stamps.

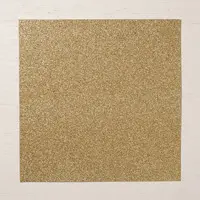
These frames are 8″ x 8″ and can be purchased on Amazon with my affiliate link HERE. The background for both of these are glimmer paper. Most of my squares are 2″ x 2″ colored cardstock with 1-3/4″ x 1-3/4″ layer over those. I used Whisper White CS to stamp onto. There are 1/4″ border between squares. One of the blocks are rectangles – 2″ x 4-1/4″. The 4-1/4″ was made by adding the 2″ plus 2″ plus the 1/4″ gap.

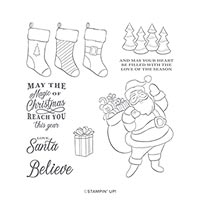
This sampler is a little of everything Christmas – I’ve tried to list all the supplies below. It has a Christmas feel to it complete with Santa And an Elf and a few Christmas trees.

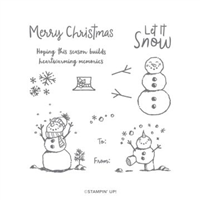
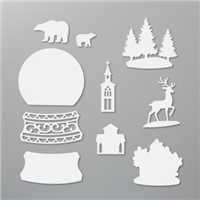
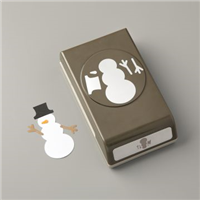
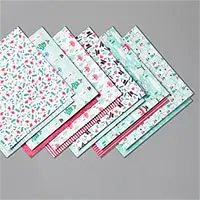
This sampler used mostly the Snowman Season Bundle and Let it Snow DSP, with a few extras thrown in. I found that the Snow Globe Dies worked perfectly for my 2″ squares.

Figuring out the layout took a little bit of math. I started with 2″ x 2″ blocks. Since i wanted 1/4″ borders, I knew I could get three 2″ blocks each way. The three 2″ blocks added to 6″. The gap between blocks were two 1/4″ gaps. Which gave me 6-1/2″. Eight inches minus 6-1/2″ left me with an extra 1-1/2″ – putting half on either side gave me 3/4″ each side. The diagram may help explain what I am trying to say here.
I used the green squares as placeholders while I arranged the four corner squares. Then I centered the other squares between the corners. After all my squares were attached I removed the green placeholder squares.
If you live in the United States and would like to shop with me you can follow any of the photo links below to get to my online store. When you place your order, don’t forget to use this months Mystery Hostess code – from the bar on the right – to earn this months Customer Appreciation PDF Tutorial (with a qualifying order)!
If you need help with how to use the host code you can find the answer here. If you would like to join me for some classes, clubs or events make sure to visit the events page or sign up for my newsletter so you will never miss out again.
Thank you for visiting please take the time to say hello and leave a comment.
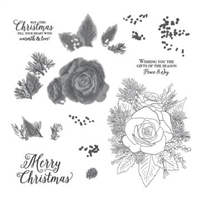
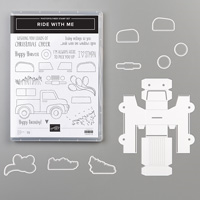
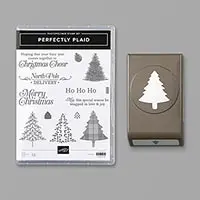
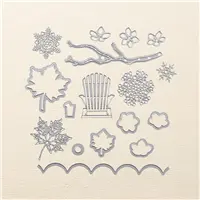
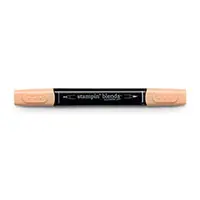
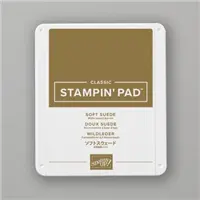
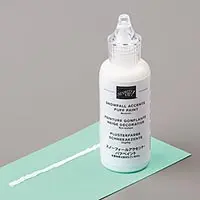
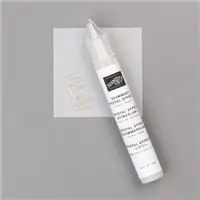
These are the supplies I used:
click on the picture to be taken to my store to purchase

This month’s PDF is all about the Sip Sip Hooray Bundle. This PDF includes all the instructions to create six adorable cards – I’ve even included a few simple fancy folds!.
All orders of $30 and above (before tax and shipping) placed in my online store using the Hostess Code ZWEPTUSY, will be emailed the Customer Appreciation PDF tutorial within 48 hours.
PLEASE NOTE, if your order is over $150 before tax and shipping DO NOT enter the Hostess Code and you will receive all the Stampin’ rewards you earned on your order AND the Customer Appreciation PDF tutorial.
If you enjoyed this post, please be sure to . . .
- Join me on Monday’s at 2:30 PM (MT) on my Facebook page for Facebook LIVE.
- Receive a FREE PDF tutorial when you subscribe to my monthly newsletter (exclusive offers) & daily blog updates here.
- Earn up to a $45 shopping spree with my Royalty Rewards Program.
- Check out the clearance rack and save up to 70%.
- Save 10% on coordinating product bundles!
- The $99 Starter Kit is the best deal of ALL! Discounts & benefits here.
- Visit my gallery for paper crafting ideas.
- Place a $30 (or more) order and receive my FREE Customer Appreciation PDF Tutorial.
- Join my Online Classes to create some fabulous projects using Stampin’ Up! products with great layouts, fun folds & techniques you won’t want to miss
- Follow me on Pinterest.
- Subscribe to my YouTube paper crafting video tutorials.












These are beautiful. Nice job!