
Hi Stampers, wow, what a week this has been! I am so glad the weekend is finally here. This week, not one but two, coffee pots broke on us this week. Our main coffee pot (the Ninja Coffee Bar) and our backup (Cuisinart) quit working! As someone, who needs coffee to wake up in the morning, this was NOT GOOD! I’m a hard core drinker, I take mine plain – no cream or sugar. Are you a coffee drinker? If so, how do you take your coffee? Let me know in the comments.

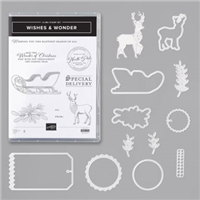
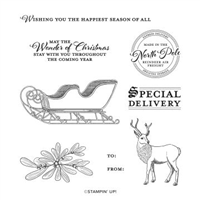
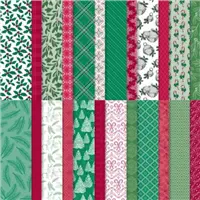
On to my card… This card starts with a Real Red card base, followed by a 3-3/4″ x 5″ layer of Whisper White and a 3-1/2″ x 4-3/4″ layer of Tis the Season Designer Series Paper. I then stamped the sentiment in Shaded Spruce ink onto a scrap of Whisper White CS and punched it out with the 1-1/2″ circle punch. The sleigh, from the Wishes & Wonder stamp set, was stamped in Versamark ink and then heat embossed with Gold Stampin’ Emboss Powder.

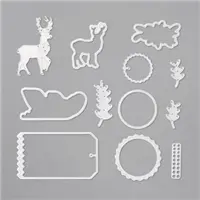
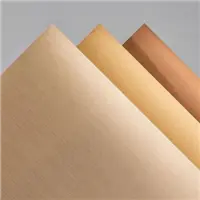
Next, I got out my Stampin’ Cut & Emboss machine and the North Pole Wonder dies to die cut the tag out of Whisper White CS, the leaves from Mossy Meadow CS (with Adhesive Sheet on the back) and the dear out of Brushed Metallic CS. After attaching a piece of ribbon to the top of my tag, I adhered the tag and then the sleigh to the card front using stampin’ dimensionals. A single stampin’ dimensional was added to the circle sentiment (towards the right side) and then attached to the card front (this made the stampin’ dimensional attach to the DSP and the rest of the circle lay over the tag. Finally, the leaves were tucked under the tag and sleigh and then the reindeer was added last.
Stampin’ Tip: For the sleigh, I die cut out my Gold Embossed sleigh and then stamped it again onto the Red Velvet Paper and fussy cut out the center of the sleigh to glue over the Gold Embossed one.

Inside the card is another sentiment and the leaves stamped in Shaded Spruce ink and then the reindeer stamped in the lower right corner using Early Espresso ink. If you would like even more great ideas for the holidays, follow along on our blog hop. Your next step is Rachel Macleod‘s blog On The Wings of Craft. She has a few ideas using one of my favorite stamp sets, Gnome for the Holidays.
- Amanda Farlinger
- Jenn Curtis Charles
- Libby Dyson
- Lisa Ann Bernard <—– you are here
- Rachel Macleod
- Tricia Butts
- Jan Musselman
- June Olsen
- Kimberley Anne Morris
- Marieke Bart
If you live in the United States and would like to shop with me you can follow any of the photo links below to get to my online store. When you place your order, don’t forget to use this months Mystery Hostess code – from the bar on the right – to earn this months Customer Appreciation PDF Tutorial (with a qualifying order)! If you need help with how to use the host code you can find the answer here.
If you would like to join me for some classes, clubs or events make sure to visit the events page or sign up for my newsletter so you will never miss out again.
Thank you for visiting please take the time to say hello and leave a comment.
These are the supplies I used:
click on the picture to be taken to my store to purchase
Awesome Deals!
Join My Team – Creative Royalty
Click HERE to learn more and start choosing your kit products! No Risk! Try out all of the demonstrator discounts and benefits through March 31, 2021. No penalty to drop. Extend from April through June (and you can order from the new 2021 Annual Catalog early) by reaching $300 in sales by March 31, 2021. Just for You! There’s no obligation to host parties, sell or purchase anything other than the kit. It’s the perfect crafty gift to yourself!
Earn my monthly Customer Appreciation PDF Tutorial by placing an order $30 or more (before shipping & tax). This PDF tutorial includes all the instructions to create six adorable cards! All orders of $30 and above (before tax and shipping) placed in my online store using the Hostess Code 3P3JB47W, will be emailed the Customer Appreciation PDF tutorial within 48 hours.
PLEASE NOTE, if your order is over $150 before tax and shipping DO NOT enter the Hostess Code and you will receive all the Stampin’ Rewards you earned on your order AND the Customer Appreciation PDF tutorial.
If you enjoyed this post, please be sure to . . .
- Join me on Monday’s at 2:30 PM (MT) on my Facebook page for Facebook LIVE.
- Receive a FREE PDF tutorial when you subscribe to my monthly newsletter (exclusive offers) & daily blog updates here.
- Earn up to a $45 shopping spree with my Royalty Rewards Program.
- Check out the clearance rack and save up to 70%.
- Save 10% on coordinating product bundles!
- The $99 Starter Kit is the best deal of ALL! Discounts & benefits here.
- Visit my gallery for paper crafting ideas.
- Place a $30 (or more) order and receive my FREE Customer Appreciation PDF Tutorial.
- Join my Online Classes to create some fabulous projects using Stampin’ Up! products with great layouts, fun folds & techniques you won’t want to miss
- Follow me on Pinterest.
- Subscribe to my YouTube paper crafting video tutorials.











Oh I love this! That metallic deer is breathtaking! Thanks for sharing.
Thank you for your nice comment.
Gorgeous card and super festive – perfect for our holiday theme. I love that you incorporated a tag into your layout. Thanks for sharing x
Wonderful Card! Love the way you did the inside as well! TFS
Awesome card, Lisa Ann. I love all the different elements you have been able to incorporate. Thanks for sharing.
The details on the deer are beautiful! TFS.
Such an elegant card, Lisa! Great combinations!
Pretty card! Love all the greenery. I hate coffee 🙂