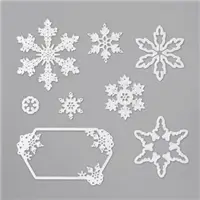
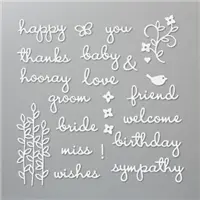
Hi Stampers, I’m so excited that the So Many Snowflakes Dies will be carrying over! For this Happy Birthday card I paired them with the Well Written dies. Isn’t it pretty?

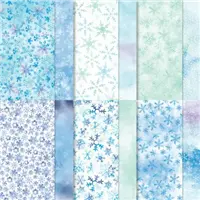
I started with a Pool Party card base and then added a 4″ x 5-1/4″ layer of DSP. While this particular DSP has retired, other DSPs would work or you could use our fabulous new Blender Brushes to make your own background similar to this one.

The So Many Snowflakes Dies were used to die cut snowflakes out of Highland Heather, Seaside Spray and Purple Posy CS. They were stacked together and attached to each other using glue dots. A single rhinestone in the center of the top snowflake finishes it off. Using the Well Written dies, I die cut happy out of Gorgeous Grape CS and “birthday” out of Misty Moonlight CS. Before die cutting the words, I put adhesive sheet on the back, so the words would be stickers and easy to apply.

Inside, the card is a single layer of Whisper White CS with a 1″ strip of the same DSP as the cover. Even though there is no inside sentiment, that single strip of DSP makes the inside coordinate with the outside. Nice and simple!
If you live in the United States and would like to shop with me you can follow any of the photo links below to get to my online store. When you place your order, don’t forget to use this months Mystery Hostess code – from the bar on the right – to earn this months Customer Appreciation PDF Tutorial (with a qualifying order)! If you need help with how to use the host code you can find the answer here.
If you would like to join me for some classes, clubs or events make sure to visit the events page or sign up for my newsletter so you will never miss out again.
Thank you for visiting please take the time to say hello and leave a comment.
These are the supplies I used:
click on the picture to be taken to my store to purchase
Awesome Deals!
Join My Team – Creative Royalty

Click HERE to learn more and start choosing your kit products! No Risk! Try out all of the demonstrator discounts and benefits through June 30, 2021. No penalty to drop. Extend from July through September (and you can order from the new 2021 Jul-Dec Mini Catalog early) by reaching $300 in sales by June 30, 2021. Just for You! There’s no obligation to host parties, sell or purchase anything other than the kit. It’s the perfect crafty gift to yourself!
Earn my monthly Customer Appreciation PDF Tutorial by placing an order $30 or more (before shipping & tax). This PDF tutorial includes all the instructions to create six adorable cards! All orders of $30 and above (before tax and shipping) placed in my online store using the Hostess Code YSS2F6PP, will be emailed the Customer Appreciation PDF tutorial.
PLEASE NOTE, if your order is over $150 before tax and shipping DO NOT enter the Hostess Code and you will receive all the Stampin’ Rewards you earned on your order AND the Customer Appreciation PDF tutorial.
If you enjoyed this post, please be sure to . . .
- Join me on Monday’s at 2:30 PM (MT) on my Facebook page for Facebook LIVE.
- Receive a FREE PDF tutorial when you subscribe to my monthly newsletter (exclusive offers) & daily blog updates here.
- Earn up to a $45 shopping spree with my Royalty Rewards Program.
- Check out the clearance rack and save up to 70%.
- Save 10% on coordinating product bundles!
- The $99 Starter Kit is the best deal of ALL! Discounts & benefits here.
- Visit my gallery for paper crafting ideas.
- Place a $30 (or more) order and receive my FREE Customer Appreciation PDF Tutorial.
- Join my Online Classes to create some fabulous projects using Stampin’ Up! products with great layouts, fun folds & techniques you won’t want to miss
- Follow me on Pinterest.
- Subscribe to my YouTube paper crafting video tutorials.








Love the colors! Nice blending. Was lamenting not buying more paper before it sold out. But, I guess I could make my own! Thanks for the idea.