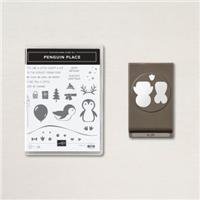
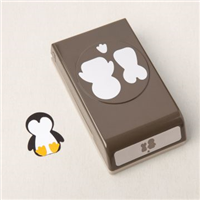
Hi Stampers. I have a quick and easy card for you today using the Penguin Builder Punch.

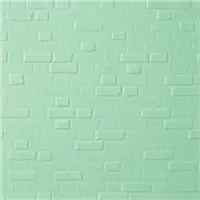
My card starts with a Soft Sea Foam card base – 8-1/2″ x 5-1/2″, scored at 4-1/4″. Next, I punched the out the penguins and then cut a strip of Basic White CS 5-1/2″ long and just a bit taller than the penguins. I used the Brick & Mortar Embossing folder to dry emboss the bricks.

The striped DSP is some I had leftover from the Penguin Playmates DSP from Sale-A-Bration. I added a 3/4″ strip above and below the Basic White layer. The penguins eyes and nose were stamped, they were glued together with liquid glue and the feet added with mini glue dots.
Stampin’ Tip: Because you only see the edges of the DSP, you can use small strips or punch or die cut things out of the center that is hidden. This will save on supplies.

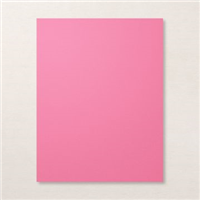
I chose to make one of the penguins a girl. Using the Penguin Builder Punch, I punched her out of Polished Pink and added a bow with a rhinestone to her head. The bow that I used is from a retired punch, but a quick glance at our catalog shows me that there is a bow in the Hippo & Friends Dies that is very similar. If you don’t have those either, just take a peek though your collection, you may even find a small flower that will work.

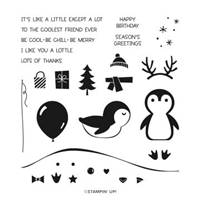
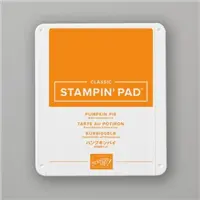
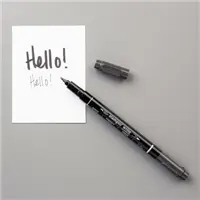
Inside the card is a 4″ x 5-1/4″ layer of Basic White with a Penguin stamped in Memento Black ink in the lower right corner. The eyes we just dotted in with a Basic Black Stampin’ Write Marker and the nose stamped in Pumpkin Pie ink.
Stampin’ Tip: If you want the penguin to be a darker black, use the stamparatus and stamp it multiple times.
If you live in the United States and would like to shop with me you can follow any of the photo links below to get to my online store. When you place your order, don’t forget to use this months Mystery Hostess code – from the bar on the right – to earn this months Customer Appreciation PDF Tutorial (with a qualifying order)! If you need help with how to use the host code you can find the answer here.
If you would like to join me for some classes, clubs or events make sure to visit the events page or sign up for my newsletter so you will never miss out again.
Thank you for visiting please take the time to say hello and leave a comment.
These are the supplies I used:
click on the picture to be taken to my store to purchase
Awesome Deals!
Earn my monthly Customer Appreciation PDF Tutorial by placing an order $30 or more (before shipping & tax). This months PDF tutorial includes all the instructions for SIX cards! All orders of $30 and above (before tax and shipping) placed in my online store using the Hostess Code T6ESHMAZ, will be emailed the Customer Appreciation PDF tutorial.
PLEASE NOTE, if your order is over $150 before tax and shipping DO NOT enter the Hostess Code and you will receive all the Stampin’ Rewards you earned on your order AND the Customer Appreciation PDF tutorial.
If you enjoyed this post, please be sure to . . .
- Join me on Monday’s at 2:30 PM (MT) on my Facebook page for Facebook LIVE.
- Receive a FREE PDF tutorial when you subscribe to my monthly newsletter (exclusive offers) & daily blog updates here.
- Earn up to a $45 shopping spree with my Royalty Rewards Program.
- Check out the clearance rack and save up to 70%.
- Save 10% on coordinating product bundles!
- The $99 Starter Kit is the best deal of ALL! Discounts & benefits here.
- Visit my gallery for paper crafting ideas.
- Place a $30 (or more) order and receive my FREE Customer Appreciation PDF Tutorial.
- Join my Online Classes to create some fabulous projects using Stampin’ Up! products with great layouts, fun folds & techniques you won’t want to miss
- Follow me on Pinterest.
- Subscribe to my YouTube paper crafting video tutorials.

