Hi Stampers. I have a pocket twist card for you today that is a bit on the advanced side. In my video below, I try my best to keep it simple, but it was just so fun, I had to give it a try!
When I first saw this pocket twist card, it was on a video by a fellow demonstrator – Dawn Griffith. The Halloween version was my first attempt, then I made the Christmas version for my video.
I thought it kind of looked like an ornament when it was folded together.
Here is a view of the card base before assembly. I’ve also got a diagram below that you can pin to Pinterest for later reference.
The measurements of the Designer Series Paper start out as rectangles and then two of them are cut diagonally before adhering to the card base.
The card pops open and can hold notes and gift cards in the pockets. You can see how it gets it’s name “pocket twist card”.
I found it challenging to get it folded correctly at first. But, by taking it one step at a time and not rushing, it came together great. Once it was together, it kind of falls back into place on future opening.
Here is a view of the inside with the sentiment card and a gift card.
I made two of the layered cards, one with my sentiment and one to write my message on.
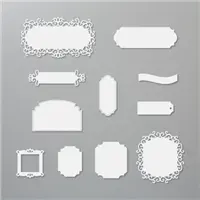
It’s all held together with a belly band. The ornate frame label is adhered to the card base with dimensionals only on the bottom, so you can slide the belly band down and it rests on those dimensionals. Watch the video below and let me know what you think.
Card Measurements:
- Old Olive CS: 8-1/8″ x 8-1/4″ (card base) & 1/2″ x 11″ (belly band) & two pieces 2-1/4″ x 4″
- Basic white CS: two pieces 2″ x 3-3/4″
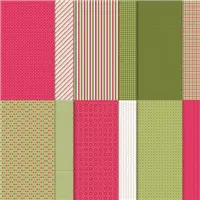
- Heartwarming Hugs DSP: two pieces 2-1/4″ x 3-7/8″ & one piece 2-1/4″ x 4″
Pocket Twist Card Video Tutorial:
If you live in the United States and would like to shop with me you can follow any of the photo links below to get to my online store. When you place your order, don’t forget to use this months Mystery Hostess code – from the bar on the right – to earn this months Customer Appreciation PDF Tutorial (with a qualifying order)! If you need help with how to use the host code you can find the answer here.
If you would like to join me for some classes, clubs or events make sure to visit the events page or sign up for my newsletter so you will never miss out again.
Thank you for visiting please take the time to say hello and leave a comment.
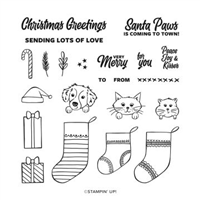
These are the supplies I used:
click on the picture to be taken to my store to purchase
Awesome Deals!
 More information on the product share – CLICK HERE
Last Chance List by page in PDF format – CLICK HERE
Last Chance List by product name in PDF format – CLICK HERE
Last Chance List in Excel format – CLICK HERE
Earn my monthly Customer Appreciation PDF Tutorial by placing an order $30 or more (before shipping & tax). This months PDF tutorial includes all the instructions for SIX cards! All orders of $30 and above (before tax and shipping) placed in my online store using the Hostess Code T2HVBMKU, will be emailed the Customer Appreciation PDF tutorial.


