Hi, Stampers. I’m excited to share this double candy bar holder with you. I saw Dawn Griffith make this several years ago and have been wanting to make one ever since. It’s adorable and makes a great small gift!

This double candy bar holder started out with Gorgeous Grape CS 7-1/8″ x 8-1/4″. It is scored on 7-1/8″ side at 2-1/4″, 2-5/8″, 3″, 5-1/4″ & 6″. On the 8-1/4″ side, it is scored at 1″, 1-3/8″, 6-7/8″ & 7-1/4″. I also cut two additional pieces of Gorgeous Grape CS 2″ x 5-1/2″.

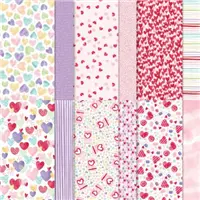
To decorate the double candy bar holder, I used the Sweet Talk DSP – 5-3/8″ x 1″ and 5-3/8″ x 2-1/8″ and (2) 5-3/8″ x 1-1/4″.

Assembly is better explained in the video below. This is held closed with mini magnets (find my affiliate link for the mini magnets HERE) under the DSP. A bow, made from Gorgeous Grape ribbon, finishes it off.

This double candy bar holder started out with Early Espresso CS 7-1/8″ x 8-1/4″. It is scored on 7-1/8″ side at 2-1/4″, 2-5/8″, 3″, 5-1/4″ & 6″. On the 8-1/4″ side, it is scored at 1″, 1-3/8″, 6-7/8″ & 7-1/4″. I also cut two additional pieces of Early Espresso CS 2″ x 5-1/2″.

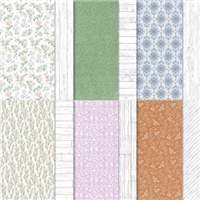
To decorate this double candy bar holder, I used the Heart & Home DSP – 5-3/8″ x 1″ and 5-3/8″ x 2-1/8″ and (2) 5-3/8″ x 1-1/4″. Again, assembly is better explained in the video below. This is held closed with mini magnets (find my affiliate link for the mini magnets HERE) under the DSP. A bow, made from Fresh Freesia ribbon, finishes it off.
Double Candy Bar Holder Video Tutorial:

CLICK HERE to view this video on YouTube
If you live in the United States and would like to shop with me you can follow any of the photo links below to get to my online store. When you place your order, don’t forget to use this month’s Mystery Hostess code – from the bar on the right – to earn this month’s Customer Appreciation PDF Tutorial (with a qualifying order)! If you need help with how to use the host code you can find the answer here.
If you would like to join me for some classes, clubs, or events, please visit the events page or sign up for my newsletter so you will never miss out again.
Thank you for visiting please take the time to say hello and leave a comment.
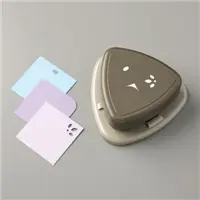
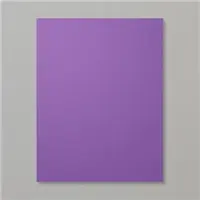
These are the supplies I used:
Click on the picture to be taken to my store to purchase
Awesome Deals!


Earn my monthly Customer Appreciation PDF Tutorial by placing an order of $30 or more (before shipping & tax). This month’s PDF tutorial includes all the instructions for SIX cards! All orders of $30 and above (before tax and shipping) placed in my online store using the Host Code ZYXEQTZY, will be emailed the Customer Appreciation PDF tutorial.
PLEASE NOTE, if your order is over $150 before tax and shipping DO NOT enter the Host Code and you will receive all the Stampin’ Rewards you earned on your order AND the Customer Appreciation PDF tutorial.









Your cards are gorgeous! I’m sure you don’t need me to tell you that. Have an amazing day!
Thank you!
WOW Lisa…..This project is FANTASTIC. I can’t wait to make one for myself. THANK YOU so much for sharing.
I’m glad you like it. I’m looking forward to seeing how yours come out. What DSP are you going to use?
I bought the mini magnets that you shared on Amazon however when I put them under the DSP they no longer are powerful enough to hold tightly together. What is the secret to that?
They don’t necessarily hold “tightly” but they keep it from popping open. You could opt for a slightly larger size. I’ve used 6mm x 1mm and 8mm x 1mm. Both pretty tiny.