Hi, Stampers. Happy Valentine’s Day! I hope you feel loved and get to spend some time today doing something you love. This Simple Slider Card is for you!

My simple slider Valentine’s day card starts with a Real Red card base – 8-1/2″ x 5-1/2″, scored at 4-1/4″.

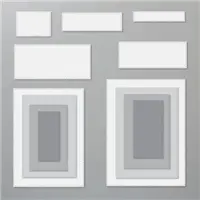
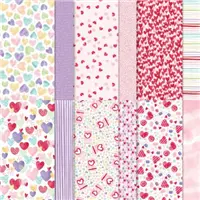
The front panel of my simple slider Valentine’s day card is a 4″ x 5-1/4″ layer of Real Red CS followed by a 3-3/4″ x 5″ layer of Sweet Talk DSP. To make the slider part, I used Stitched Rectangle Dies to make the opening and the Adhesive Foam Strips to make the path.

Happy Valentine’s Day was stamped in Real Red ink onto a 1-1/2″ x 3-1/2″ layer of Basic White.
Stampin’ Tip: Because the stamp was longer than the opening, I chose to stack the words. I inked just the “happy” and stamped it, then I inked just the “Valentine’s day” and stamped it below the “happy”. Voila – a whole different look!
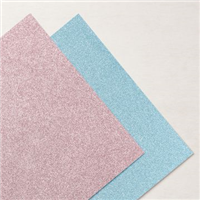
My pull strip is 1-1/8″ x 4″ strip of Real Red CS. The Layering Circles Dies were used to cut the scalloped circle for the front of the card and the shimmer paper for the end of the pull strip.

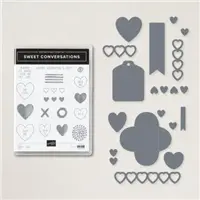
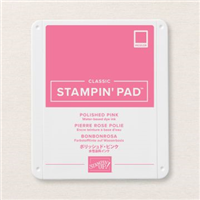
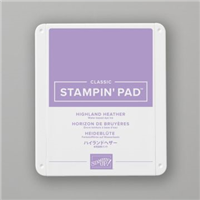
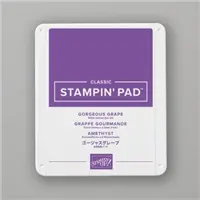
Inside the card is a 4″ x 5-1/4″ layer of Basic White CS. I used the Sweet Conversations stamp set and stamped in Polished Pink, Real Red, Highland Heather and Gorgeous Grape inks.

My second simple slider card is done in much the same way. The first one was portrait orientation and this one is landscaped. I chose to use Gorgeous Grape CS for my card base followed by a layer of Blushing Bride and then the Sweet Talk DSP.

To make the window, I used the same Stitched Rectangle Die, but I used it twice so the hole with be longer for this card.

Because the window is longer, my pull strip needed to be longer. This time my pull strip is 1-1/8″ x 5″.

With the longer window, I was able to stamp the Happy Valentine’s Day sentiment (from the Sweet Conversations stamp set) in full as one line.

Inside the simple slider card is stamped much the same way as the first one, just landscaped instead of portrait.
Simple Slider Video Tutorial:
CLICK HERE to view this video on YouTube
If you live in the United States and would like to shop with me you can follow any of the photo links below to get to my online store. When you place your order, don’t forget to use this month’s Mystery Hostess code – from the bar on the right – to earn this month’s Customer Appreciation PDF Tutorial (with a qualifying order)! If you need help with how to use the host code you can find the answer here.
If you would like to join me for some classes, clubs, or events, please visit the events page or sign up for my newsletter so you will never miss out again.
Thank you for visiting please take the time to say hello and leave a comment.
These are the supplies I used:
Click on the picture to be taken to my store to purchase
Awesome Deals!


Earn my monthly Customer Appreciation PDF Tutorial by placing an order of $30 or more (before shipping & tax). This month’s PDF tutorial includes all the instructions for SIX cards! All orders of $30 and above (before tax and shipping) placed in my online store using the Host Code ZYXEQTZY, will be emailed the Customer Appreciation PDF tutorial.
PLEASE NOTE, if your order is over $150 before tax and shipping DO NOT enter the Host Code and you will receive all the Stampin’ Rewards you earned on your order AND the Customer Appreciation PDF tutorial.


