Hi, Stampers. I have an awesome fold to share with you today! The diagonal joy fold card is one that looks really impressive but is super easy to make.

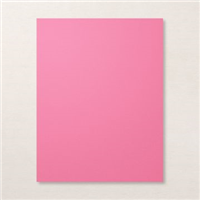
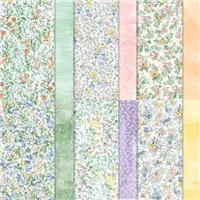
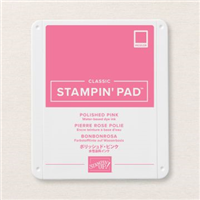
My diagonal joy fold card starts with a Polished Pink card base 8-1/2″ x 5-1/2″, scored at 4-1/4″. The card was then folded on the scored line and burnished with a bone folder. Using my trimmer, I cut from the upper left corner to the lower right corner of the card front and removed that piece. Next, I cut two pieces of DSP 4″ x 5-1/4″ (for the inside of the card) and cut one of them diagonally from the upper left to the lower right corner (for the card front).

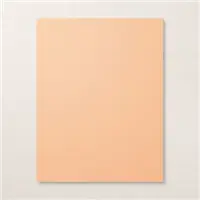
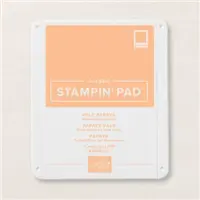
For the center piece, I cut a piece of Polished Pink CS 3″ x 8″, scored at 4″. This was adhered to the inside of the card with the fold on top, creating the diagonal joy fold. The front and the inside of this piece are layered with a 2-3/4″ x 3-3/4″ piece of Pale Papaya CS and a 2-1/2″ x 3-1/2″ piece of Basic White CS.

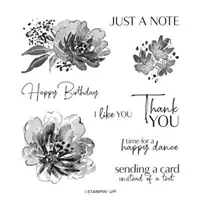
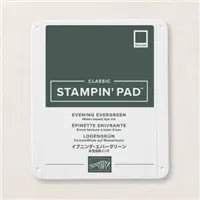
I used the flowing flowers stamp set for the stamping. The large flower is stamped in Polished Pink ink, the flower was masked and then I stamped the leaves in Evening Evergreen ink and the sentiment in Melon Mambo ink.
Stampin’ Tip: Masking is when you stamp the same image onto masking paper (available in our 2022-2023 Annual Catalog) and cut out and adhered over the original image (to mask it) so you can stamp something that will appear to be UNDER the image, after removing the mask.

On the inside of my diagonal joy fold, flowers are stamped in the lower left corner in Polished Pink ink (also using the Flowing Flowers stamp set).

My second diagonal joy fold card uses the same fold, same measurements and same stamp set, just different CS, DSP and inks.

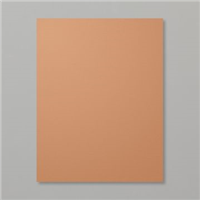
This time I started with a Cinnamon Cider card base and Hand-Penned DSP. My smaller layers are Mint Macaron and Basic White. Again, I used the Flowing Flowers stamp set. This time the flower is stamped in Pale Papaya and the sentiment is stamped in Evening Evergreen ink.

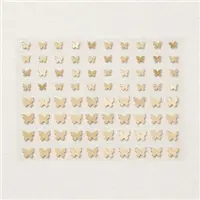
Inside the card, my flower is again stamped in the lower left corner as an accent. A Brushed Brass Butterfly was added to the front of the card as an accent. I love the Brushed Brass Butterflies – they are nice and flat and work great on cards I plan to mail – no bumps or added bulk!
Diagonal Joy Fold Card Video Tutorial:
CLICK HERE to view this video on YouTube
If you live in the United States and would like to shop with me you can follow any of the photo links below to get to my online store. When you place your order, don’t forget to use this month’s Mystery Hostess code – from the bar on the right – to earn this month’s Customer Appreciation PDF Tutorial (with a qualifying order)! If you need help with how to use the host code you can find the answer here.
If you would like to join me for some classes, clubs, or events, please visit the events page or sign up for my newsletter so you will never miss out again.
Thank you for visiting please take the time to say hello and leave a comment.
These are the supplies I used:
Click on the picture to be taken to my store to purchase
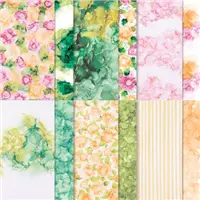
Price: $15.00
Awesome Deals!

CLICK HERE FOR MORE INFO ON PRODUCT SHARES

CLICK HERE FOR MORE INFORMATION ON THIS ONLINE CLASS

- Last chance PDF list by page number: CLICK HERE
- Last chance list in Excel format: CLICK HERE
- Last chance PDF list by category and then by name: CLICK HERE

Earn my monthly Customer Appreciation PDF Tutorial by placing an order of $30 or more (before shipping & tax). This month’s PDF tutorial includes all the instructions for SIX cards! All orders of $30 and above (before tax and shipping) placed in my online store using the Host Code VNWYFGDX, will be emailed the Customer Appreciation PDF tutorial.
PLEASE NOTE, if your order is over $150 before tax and shipping DO NOT enter the Host Code and you will receive all the Stampin’ Rewards you earned on your order AND the Customer Appreciation PDF tutorial.


