Hi, Stampers. Happy Monday! Let’s start this week off with a happy spring card and hope the snow is done for a while! This is a faux center step card. It’s a center step card, but an easier version. After all, I do promise to take the stress out of stamping!

This faux center step card starts with a Soft Succulent piece of CS – 4-1/4″ x 9″ scored on the 9″ at 1-1/4″, 2-1/2″, and 5-3/4″ (this is the bottom part of the card). Next, is another piece of Soft Succulent CS – 2-1/2″ x 8-1/2″ scored at 5-1/2″ (this is the tall / center part of the card).

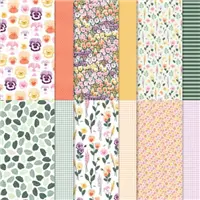
The beautiful Pansy Petals DSP is attached first and then the two CS pieces are glued together. (I’m going to miss this DSP). On the bottom piece, I adhered two pieces of Pansy Petals DSP – 1″ x 4″ & 3″ x 4″. Another piece of Pansy Petals DSP (2-1/4″ x 5-1/4″) is added to the second part of the card base. Using liquid glue or stampin’ seal, I adhered the 2-1/2″ edge to the center of the bottom piece. Next, I flattened the faux center step card and adhered the short side of the center to the back of the card base.

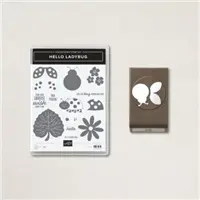
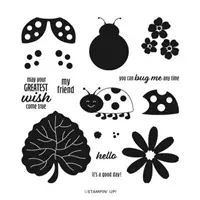
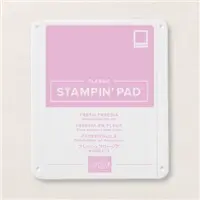
Using the Hello Ladybug stamp set and Fresh Freesia ink, I stamped onto a 3″ x 4″ piece of Basic White CS. This is then adhered to the back of the card, covering the seam.

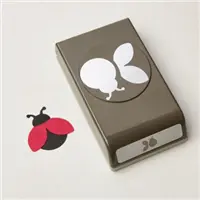
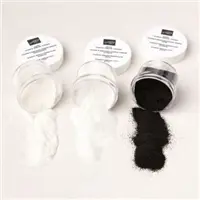
To create the bees, I used the Ladybug punch to punch out 3 ladybugs from Basic Black CS. Adhesive Sheet was added to the back of Daffodil Delight CS and then it was cut into 1/4″ strips, I placed these on the ladybug body and tore off the edge. After I had all three strips on, I turned it over and trimmed off the excess from the back side. The wings were punched out of Vellum and added with Stampin’ Seal. A white gel pen added the accent to the head and a Basic Black Stampin’ Write marker was used to create the dots behind the bee, creating the feel of movement. Finally the sentiment was heat embossed in white onto a scrap of Basic Black CS and cut down with paper snips before added to the card front. What do you think? Will you be making a faux center step card?
Faux Center Step Card Video Tutorial:
CLICK HERE to view this video on YouTube
If you live in the United States and would like to shop with me you can follow any of the photo links below to get to my online store. When you place your order, don’t forget to use this month’s Mystery Hostess code – from the bar on the right – to earn this month’s Customer Appreciation PDF Tutorial (with a qualifying order)! If you need help with how to use the host code you can find the answer here.
If you would like to join me for some classes, clubs, or events, please visit the events page or sign up for my newsletter so you will never miss out again.
Thank you for visiting please take the time to say hello and leave a comment.
These are the supplies I used:
Click on the picture to be taken to my store to purchase
Sale: $9.20
Price: $11.50
Awesome Deals!

CLICK HERE FOR MORE INFO ON PRODUCT SHARES

CLICK HERE FOR MORE INFORMATION ON THIS ONLINE CLASS

- Last chance PDF list by page number: CLICK HERE
- Last chance list in Excel format: CLICK HERE
- Last chance PDF list by category and then by name: CLICK HERE

Earn my monthly Customer Appreciation PDF Tutorial by placing an order of $30 or more (before shipping & tax). This month’s PDF tutorial includes all the instructions for SIX cards! All orders of $30 and above (before tax and shipping) placed in my online store using the Host Code VNWYFGDX, will be emailed the Customer Appreciation PDF tutorial.
PLEASE NOTE, if your order is over $150 before tax and shipping DO NOT enter the Host Code and you will receive all the Stampin’ Rewards you earned on your order AND the Customer Appreciation PDF tutorial.


